Understanding Reverb
Reverb in the Real World
Reverb is one of the most useful effects in a musician’s or engineer’s toolbox. These days, it’s mostly assumed that reverb is some sort of digital effect, but in reality reverb is a naturally occurring phenomena. It’s caused by sound echoing in a space, bouncing off the various hard and soft surfaces that make up the walls, floors, ceiling, and objects within the space.
 The reverberation within a space is used by our ears and brain to tell us how large the space is and from where the audio originates. Most people assume that echo and reverb are different things, but in reality they are closely connected. An echo (think of the cliche’ of yelling “hello” in the Grand Canyon) has a distinct pattern of repeats of the input source, usually equally spaced. The audio that triggers the echo is bouncing off one or more solid surfaces and then returning to the listener’s ears delayed in time. The bigger the space, the longer the delay time, and the further the echos are spaced apart.
Reverb (usually described as happening in a confined space like a room, studio, or concert hall) is actually a large number of closely-spaced discrete echos caused by sound bouncing off of every conceivable solid surface and then mushing together as the thousands of echos return to the listener. To really understand how sound works, think of the game of billiards: your source sound (the ball) starts in one place and then bounces off one surface and then another, and then another, and so on, until it finally stops. Audio does a similar thing, except it’s in three dimensions, bouncing around the space as its volume decays and is finally inaudible. The decay time and the tone of the reverb are influenced by the size of the space and what it’s made of.
Digital effects devices try to approximate what happens in real-life spaces or other types of reverb devices (like the analog, spring-based circuit in a tube guitar amp, for example), and present the user with standard sounding reverb presets like “Big Room, “Concert Hall,” “Studio A,” “Guitar Amp Spring,” or “Famous Plate.” Most give you options to control the parameters like size, reflections, tone, and decay time to tailor the reverb to your needs.
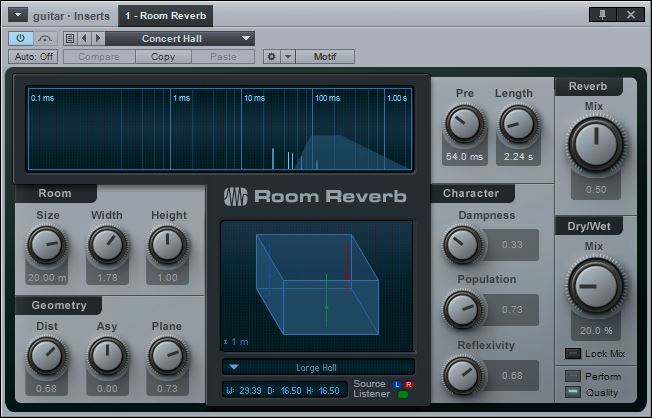
A digital reverb effect as seen in a digital audio workstation (DAW)
Practical Applications
So what type of reverb do you use, on what types of audio signals, when do you add it, and how much? Answers to those questions will vary with the style of music, the density of the instrumentation, and even the tempo of the music being performed. Here are some general guidelines.
Vocals (and vocalists) love reverb. On slow songs, a hall reverb adds a nice sense of space and dimension, and is especially effective in sparse arrangements. A hall reverb with a decay time of 2-4 seconds is not uncommon. As the music gets faster and the density if the instrumentation increases, be careful with overly long reverb times. Remember that everything that goes into a 4-second long reverb will be overlapping until it completely decays. You run the risk of having the lyrics, chords, etc., run together so much that they become unintelligible when there is too much reverb.
Most guitars players are familiar with adding effects to their signal chains. Solos and melodic parts are prime candidates for a bit of reverb. As parts get busier and more rhythmic, shorter reverb times are more appropriate. Try a shorter room reverb for rhythm parts and a plate or hall reverb with a decay time of 1.5 to 2.5 seconds for melodic parts. Keyboard parts can follow similar guidelines.
Instruments that form the foundation for a song’s groove, typically the bass and kick drum, are most often left dry in a mix. Adding any time-based effects to an essential rhythmic element full of low frequency information usually detracts from the groove instead of enhancing it. Less is more.
Snare drums, toms, and percussion instruments are frequently heard with reverb effects. Again, as the song’s tempo dictates, set the length of the reverb decay accordingly. A room or plate reverb is a good choice; typical decay times run from 0.5 to 1.5 seconds.
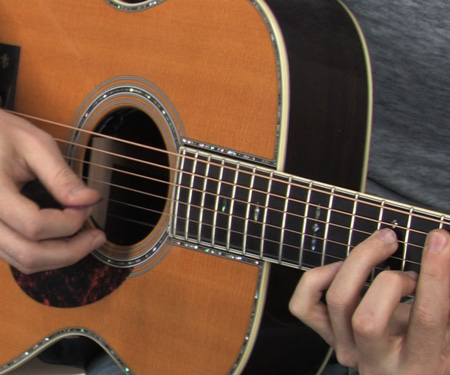
Strummed Guitar Examples
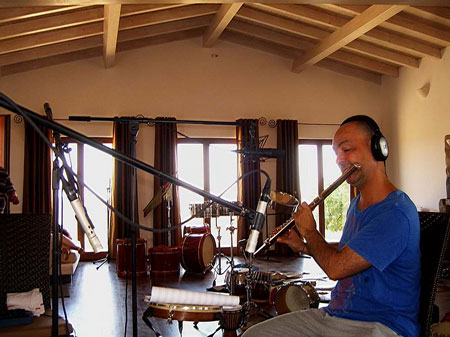
Below are a series of examples of an acoustic guitar with various types of reverb added. The acoustic guitar was recorded in a dry room and repeats the same phrase in each example. It’s heard first without the reverb effect, and then the reverb is added.
The reverb send and return level is approximately the same for each recording.
Small Room – Acoustic Guitar
Medium Room – Acoustic Guitar
Large Hall – Acoustic Guitar
As you can hear, there’s quite a difference in the overall impression the guitar track makes when you hear it in a reverberant space. The guitar with the Small Room reverb at a moderately low volume is hardly noticeable, while the Large Hall is fairly obvious. Which is your favorite?
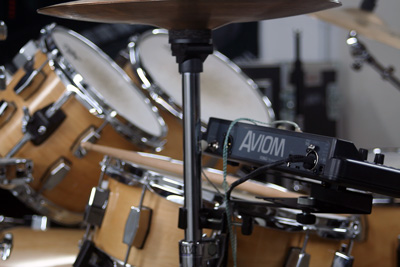
Snare Drum Examples
This set of examples has a full drum kit recorded with multiple mics in a dry room; only the snare drum gets reverb added to it. The drums play dry first and and then the reverb is added in the second part of each example.
Large Room – Snare
Small Hall – Snare
Large Hall – Snare
As with the acoustic guitar examples, it’s pretty easy to hear the dramatic changes to the space surrounding the drum in the mix. Remember that the context of the music happening around the drummer’s part will have a big impact on your decision about which type of reverb and how much to apply.
Vocal Examples
The final set of examples uses a male vocal in three distinct spaces. The first two phrases are played back dry and then the reverb is added for the second half of each example.
Small Room – Vocal
Large Room – Vocal
Large Hall – Vocal
Next Steps
As an engineer, you need to find a balance between what you can do and what you should do when it comes to adding effects. Spend some time learning about the effects you have at your disposal; play back a sound source and work with the available parameters until you understand how they interact. Do this in a practice session on your own before you start experimenting n front of an audience.


